
Packaging finishes and add-ons
Finishes are the details customers notice when they pick up a box: a gold logo that catches the light, a raised pattern under the fingertips, a velvety lid, a glossy highlight on a matte surface, a window that shows the product, an insert that holds everything perfectly. Used well, one finish can make a simple box feel premium. Used everywhere, finishes add cost without adding much. This page explains each option, what it costs relative to others, what it pairs well with and how to prepare artwork for it.
Quick comparison
| Finish | What it does | Impact | Relative cost | Best on |
|---|---|---|---|---|
| Foil stamping | Metallic or colored foil pressed onto the surface | Very high | Medium | Logos, headlines, borders |
| Embossing / debossing | Raises or presses the board | High (touch) | Medium | Logos, patterns |
| Spot UV | Gloss coating on selected areas | Medium to high | Low to medium | Logos, patterns on matte |
| Soft-touch lamination | Velvety, matte surface | High (touch) | Medium | Whole box surfaces |
| Coatings & laminations | Protect print; gloss or matte | Low to medium | Low | Every printed box |
| Window patching | Die-cut window, with or without film | High (visibility) | Low to medium | Food, toys, retail |
| Custom inserts | Hold and present products | Very high (unboxing) | Medium | Gift sets, electronics, cosmetics |
| Interior printing | Print inside the box or lid | Very high (unboxing) | Low to medium | Mailers, subscription boxes |

Foil stamping
Foil stamping uses heat and pressure to transfer a thin metallic or pigmented foil from a roll onto the board through a custom die. Gold, silver, rose gold and copper are the most common; holographic, colored and matte foils are also available.
Best for: logos, product names, thin borders and small graphic accents on cosmetics, jewelry, candles, spirits accessories and gift boxes.
Design tips
- Keep lines at least about 0.5 pt and small text bold enough to stay crisp.
- Avoid very large solid foil areas, which can show small imperfections.
- Foil on dark or soft-touch surfaces gives the strongest contrast.
- Combine with embossing for a raised metallic look (often called foil embossing).
Artwork: a separate layer, 100% of one spot color named for the foil (for example FOIL_GOLD), set to overprint.
Embossing and debossing
Embossing raises an area of the board; debossing presses it in. Both use a matched pair of dies. Blind embossing has no ink or foil, so the effect comes purely from light and shadow.
Best for: logos and patterns on rigid box wraps, thick paperboard and uncoated or soft-touch surfaces.
Design tips
- Bold shapes and thicker lines emboss better than fine detail.
- Thicker, softer boards hold depth better; very thin board may crack.
- Keep embossing away from folds and edges.
- Corrugated can be embossed only lightly; use it on paperboard or rigid wraps for best results.
Artwork: separate layer (EMBOSS or DEBOSS) as a spot color; mark multi-level or sculpted effects clearly.
Spot UV
Spot UV applies a clear, glossy coating to selected areas, cured instantly with UV light. On a matte or soft-touch background, the contrast between dull and shiny makes logos and patterns stand out without extra ink.
Best for: logos, product names and patterns on matte-laminated or soft-touch cartons and rigid wraps.
Design tips
- Works best on matte or soft-touch backgrounds.
- Allow for slight registration tolerance; avoid aligning very thin gloss lines exactly to printed edges.
- Raised (textured or "3D") UV adds a tactile effect at extra cost.
Artwork: separate layer (SPOT_UV) as a 100% spot color.
Soft-touch lamination
Soft-touch is a thin matte film with a velvety, almost suede-like feel. It mutes colors slightly and gives a calm, premium look that invites people to touch the box.
Best for: cosmetics, skincare, electronics, premium gift boxes; especially effective under foil and spot UV.
Considerations
- Dark soft-touch surfaces can show scuffs and fingerprints; handle and pack carefully.
- It adds a plastic film layer, which affects recyclability; aqueous coatings are simpler where sustainability is a priority.
- Colors print slightly darker and less saturated under the film.
Coatings and laminations
Every printed box benefits from some protection. Options range from simple to premium:
| Option | Look | Protection | Notes |
|---|---|---|---|
| Aqueous coating | Satin, gloss or matte | Basic scuff protection | Water-based; standard on many cartons |
| UV varnish | Gloss or matte | Good | Hard, durable surface |
| Gloss lamination | High shine | Very good | Vivid colors |
| Matte lamination | Smooth, matte | Very good | Elegant, pairs with spot UV |
| Soft-touch lamination | Velvety matte | Very good | Premium feel |
Laminations are thin plastic films; coatings are liquid layers. Laminated boxes are more durable but harder to recycle; ask which suits your priorities.
Window patching
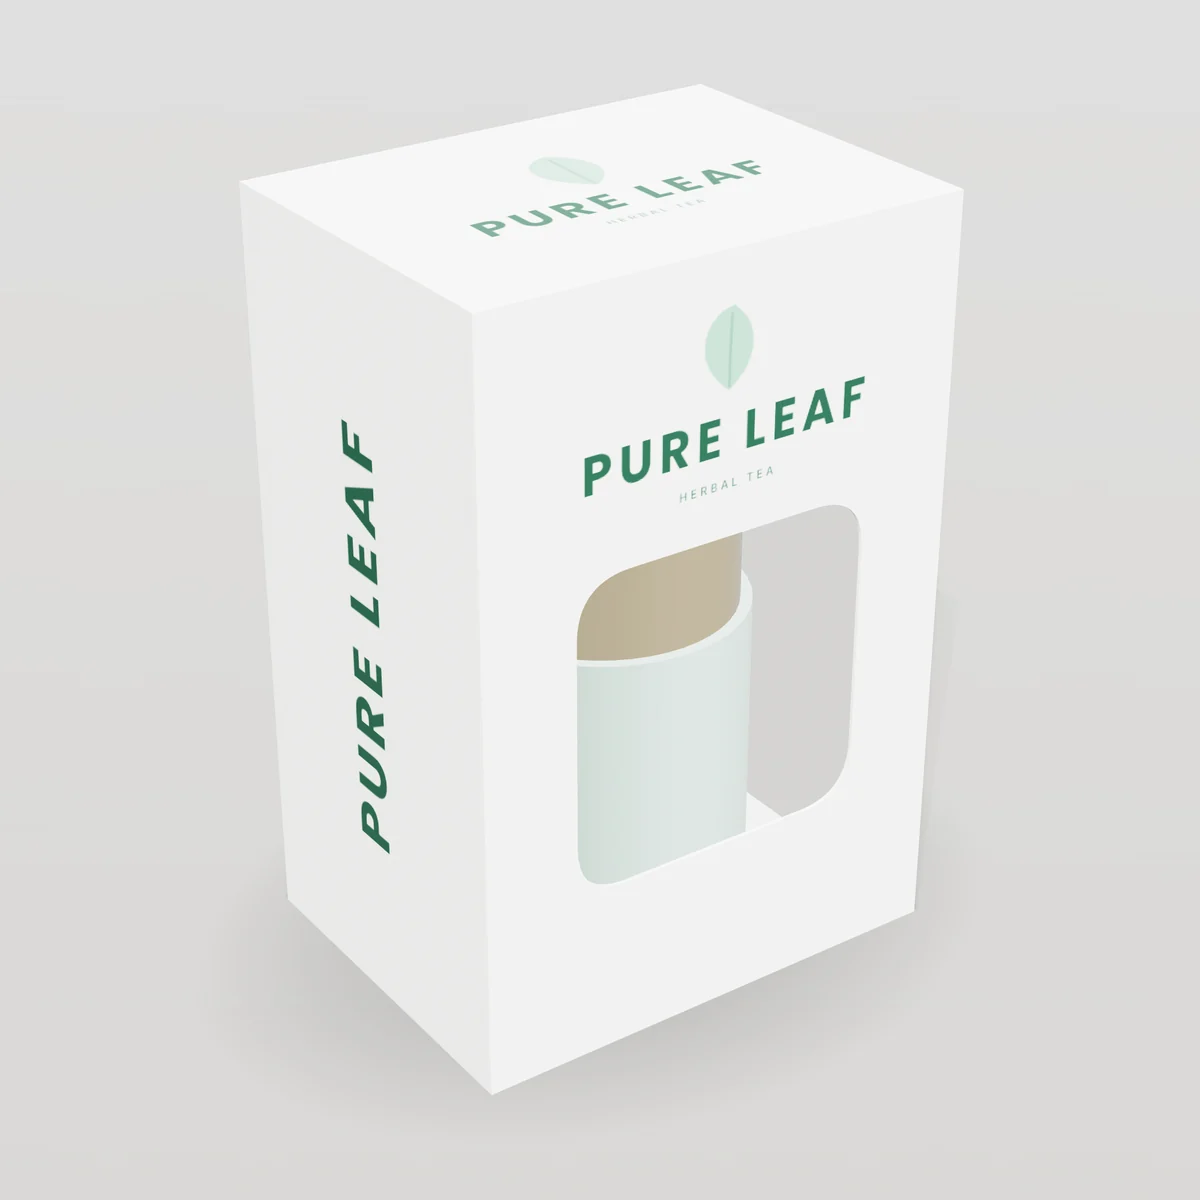
A window is a die-cut opening in the box, usually covered with a clear film to protect the product. It lets customers see the product without opening the box: pastries, chocolates, toys, soap and accessories.
Options
- Film window: clear PET or similar film glued inside.
- Open window: no film, simpler to recycle, less protection.
- Shaped windows: circles, arches, product silhouettes.
Design tips: leave enough board around the window for strength (especially near folds), and design the print so the product is part of the composition. See window boxes for styles.
Custom inserts
Inserts hold products in place, protect them and present them beautifully. For many products, the insert matters more to the unboxing than any surface finish.
| Insert type | Look and feel | Protection | Best for |
|---|---|---|---|
| Paperboard (die-cut, folded) | Clean, printable | Medium | Cosmetics, candles, small sets |
| Corrugated | Practical | High | Heavier items, shipping |
| Molded pulp | Natural, textured | High | Electronics, glass, eco brands |
| EVA foam | Precise, premium | Very high | Electronics, tools, jewelry |
| Fabric-wrapped / velvet | Luxurious | Medium to high | Jewelry, watches, gifts |
Tips: send the exact product (or precise dimensions and weight) for a good fit; test the insert with the real product; consider a finger notch or ribbon pull to lift items out. Learn more on custom inserts.
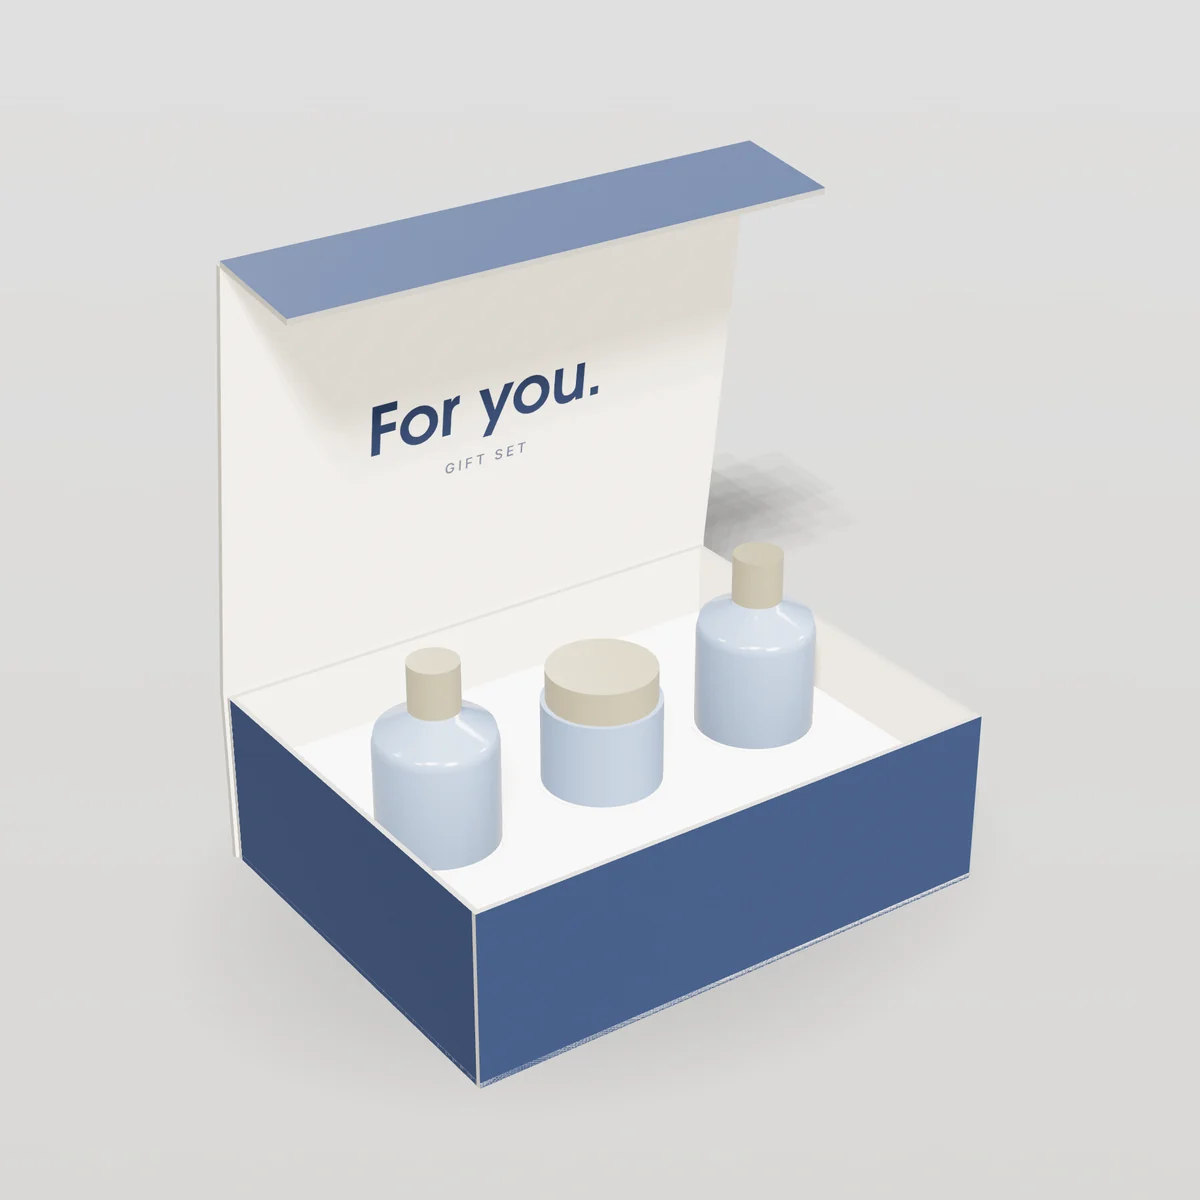
Interior printing
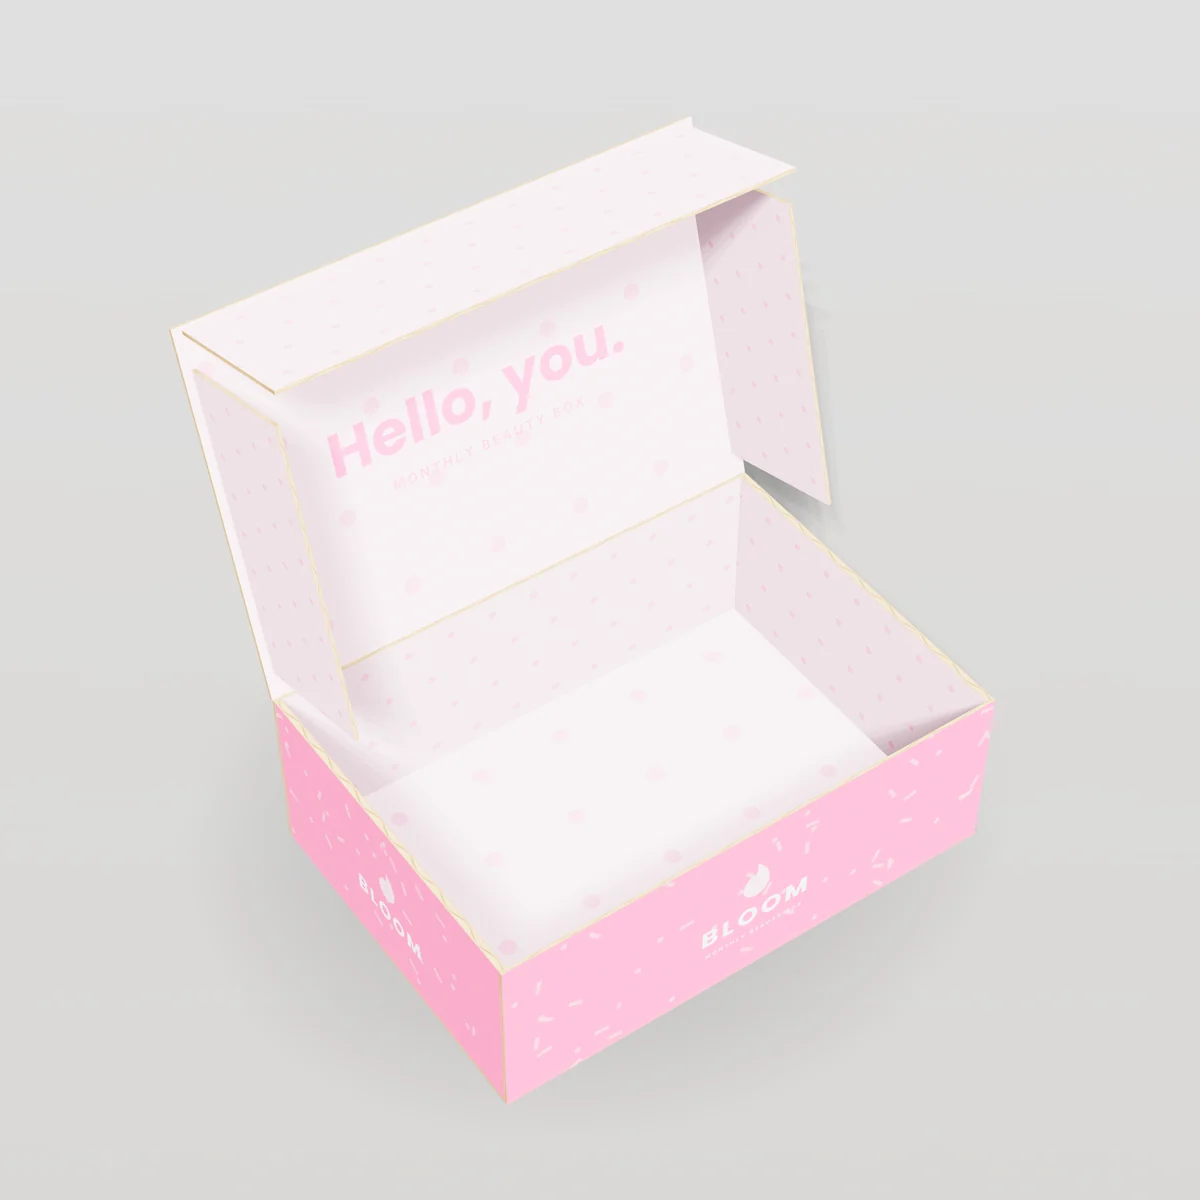
Printing inside the lid or box turns the moment of opening into a brand moment: a message, a pattern, a color flood, instructions or a social handle. It is one of the most cost-effective ways to upgrade an unboxing, especially for mailer boxes and subscription boxes.
Ideas: a short welcome line, a repeat pattern, first-use steps, a QR code to a how-to video, or a handle for sharing. See interior printing.
Combining finishes
Finishes work best in combinations that tell one story. Some proven pairings:
| Look | Combination |
|---|---|
| Quiet luxury | Soft-touch lamination + blind deboss logo |
| Classic premium | Matte lamination + gold foil logo |
| Modern contrast | Matte lamination + spot UV pattern |
| Tactile metallic | Foil + emboss on the logo |
| Natural premium | Uncoated kraft + one-color print + blind emboss |
| Joyful unboxing | Printed mailer + full-color interior + printed tissue |
| See-the-product | Window patch + simple bold print |
Rule of thumb: choose one hero finish for the front panel and keep the rest simple. Two hero finishes (for example foil and spot UV) can work together when one supports the other.
Which finishes work with which materials and print methods
| Finish | SBS / paperboard | Kraft | Corrugated mailer | Rigid wrap |
|---|---|---|---|---|
| Foil | Excellent | Good | Good (on suitable liners) | Excellent |
| Emboss / deboss | Excellent | Good | Light only | Excellent |
| Spot UV | Excellent (on matte) | Limited | Limited | Excellent |
| Soft-touch | Excellent | Limited | Via laminated sheet | Excellent |
| Window | Excellent | Excellent | Good | Possible |
| Interior print | Yes (reverse side) | Yes | Yes (second pass) | Lining paper |
See printing methods and materials for how these choices interact.
How finishes affect price
Finishes add cost in three ways: tooling (foil and emboss dies, window cutting dies), extra production passes and slower handling. The impact per box falls as quantity rises because tooling is spread over more units.
To get the most impact for the budget:
- Pick one hero finish on the panel customers see first.
- Keep foil and emboss areas compact.
- Reuse dies across products (for example the same foil logo on several cartons).
- Use interior printing or inserts if the unboxing matters more than shelf presence.
- Compare prices at several quantities; finishes become much more affordable at higher volumes.
Use the packaging cost calculator or the 3D Box Builder to see how finishes change your estimate.
Preparing artwork for finishes
Each finish needs its own artwork so the press knows exactly where it goes.
| Layer name | Use | Setup |
|---|---|---|
| FOIL_GOLD / FOIL_SILVER | Foil stamping | 100% spot color, overprint |
| SPOT_UV | Gloss coating areas | 100% spot color, overprint |
| EMBOSS / DEBOSS | Raised or pressed areas | 100% spot color, overprint |
| WINDOW | Window cut-out | Cut path on the dieline layer |
| WHITE | White ink under colors on kraft, film or metallic | 100% spot color, overprint |
| DIELINE | Cut and crease lines | Spot color, never printed |
Checklist
- Finish artwork aligned exactly with printed artwork.
- Vector shapes, not low-resolution images.
- No fine detail below the minimum line weights.
- Finishes kept away from folds where possible.
- Notes on the proof showing every finish.
The free Artwork Preflight Checklist includes a finish-layer standard.
Finishes and sustainability
Finishes are often the parts of a box that complicate recycling. If sustainability is central to your brand:
- Prefer aqueous coatings over plastic laminations.
- Use open windows or show the product in print instead of film windows.
- Choose paperboard or molded pulp inserts over foam.
- Use embossing (no added material) to create premium texture.
- Keep foil to small accents.
Make claims specific and accurate for the finished component; see our sustainability approach and the Honest Sustainability Claims Kit.
Finishes by industry
| Industry | Popular finishes |
|---|---|
| Cosmetics | Soft-touch, foil, spot UV, paperboard inserts |
| Skincare | Matte lamination, blind deboss, minimal foil |
| Candles | Foil logo, emboss, kraft with one-color print |
| Jewelry | Foil, velvet or foam inserts, rigid wraps |
| Electronics | Soft-touch, spot UV, molded pulp or foam inserts |
| Bakery and chocolate | Window patching, food-appropriate coatings, foil accents |
| Subscription boxes | Interior printing, printed tissue, stickers |
| Perfume | Foil, emboss, rigid boxes with fitted inserts |
Proofs and samples for finishes
Finishes are physical effects that a screen cannot fully show. For important launches:
- Review the digital proof with every finish layer marked.
- Check the 3D proof to see where finishes land when the box is assembled.
- Ask for a finish sample or a pre-production sample when the effect is central to the design.
Order finish and material samples to feel soft-touch, see foil colors and compare emboss depth before you decide.
Common finish mistakes
| Mistake | Result | Fix |
|---|---|---|
| Foil text too thin | Broken or filled-in letters | Use bolder type and minimum line weights |
| Emboss across a fold | Cracking, uneven folds | Keep embossing away from creases |
| Spot UV on glossy background | Little visible contrast | Use matte or soft-touch underneath |
| Soft-touch on a dark box without care | Visible scuffs | Pack carefully; consider matte lamination |
| Too many finishes | Busy look, higher cost | One hero finish per panel |
| Finish layers not separated | Finish placed wrongly | Separate spot-color layers set to overprint |
Choosing finishes by goal
| Your goal | Finishes to consider | Why |
|---|---|---|
| Stand out on a crowded shelf | Foil on the brand name, spot UV pattern | Light-catching contrast at a distance |
| Feel premium in the hand | Soft-touch lamination, blind emboss | Touch is remembered |
| Show the product | Window patching, or a photo print | Customers see what they buy |
| Better unboxing at low cost | Interior printing, printed tissue, inserts | The opening moment is where customers film and share |
| Protect fragile products | Fitted inserts, corrugated or molded pulp | Products stay in place |
| Stay simple to recycle | Aqueous coating, emboss, open windows, paper inserts | Fewer non-paper materials |
| Signal a limited edition | Holographic or colored foil, special paper | Distinct from the core range |
Finish specifications reference
These are common working guidelines. Exact limits depend on the press, board and die, and we confirm them on your proof.
| Finish | Guideline |
|---|---|
| Foil | Fine lines from about 0.5 pt; keep a small gap between separate foil elements |
| Foil text | Bold or medium weights at small sizes; avoid hairline serifs |
| Emboss / deboss | Bold shapes; keep away from folds and panel edges |
| Spot UV | Allow for slight registration tolerance with printed elements |
| Windows | Leave sufficient board between the window and folds or edges |
| Soft-touch | Consider scuff risk on dark solid colors |
| Inserts | Allow clearance for the product and for fingers to lift it out |
Foil colors and effects
| Foil | Look | Works well with |
|---|---|---|
| Gold | Warm, classic, celebratory | Black, navy, deep green, cream, kraft |
| Silver | Cool, modern, technical | Black, white, blue, grey |
| Rose gold / copper | Warm, contemporary | Blush, white, terracotta |
| Black or colored matte foil | Subtle, tone-on-tone | Matching or contrasting matte boards |
| Holographic | Playful, shifting colors | Limited editions, youth and beauty brands |
| White foil | Bright, clean | Dark boards, kraft |
Foil looks different on different surfaces: brightest on smooth, coated or laminated boards; softer on uncoated or textured papers.
Embossing types
| Type | Description |
|---|---|
| Blind emboss | Raised area with no ink or foil; texture only |
| Registered emboss | Raised area aligned with printed artwork |
| Foil emboss | Foil and embossing combined in one effect |
| Deboss | Area pressed into the surface |
| Multi-level emboss | Several heights in one design for depth |
| Sculpted emboss | Rounded, hand-crafted contours for detailed artwork |
Designing great inserts
- Start with the product: send the actual items or exact dimensions and weights.
- Decide the reveal: what should the customer see first when the lid opens?
- Plan the layout: hero product center, accessories around it; leave finger room.
- Choose the material for protection, look and recyclability.
- Prototype: a plain sample tests fit before printing.
- Test shipping: pack and ship through your carrier, then adjust.
Interior printing ideas
- A short welcome line inside the lid.
- A full-color pattern that continues from the outside.
- First-use steps for products that need setup.
- A QR code to a video, playlist or care guide.
- A social handle and a reason to share.
- A seasonal message changed with each print run.
Finishes and timelines
Each finish adds a production step and, for foil, embossing and windows, tooling. Allow extra time for:
- Die making for foil, emboss and window cutting.
- Additional passes for spot UV, lamination and foil.
- Finish samples when the effect is central to the design.
Plan seasonal launches early using our US packaging calendar.
Finishes glossary
| Term | Meaning |
|---|---|
| Hot foil stamping | Transferring foil with heat and pressure through a die |
| Cold foil | Foil applied with adhesive inline on press, then overprinted |
| Die | A custom tool used for foil, embossing or cutting |
| Blind emboss | Embossing without ink or foil |
| Lamination | A thin film bonded to the printed surface |
| Aqueous coating | A water-based protective coating |
| UV coating | A coating cured instantly with UV light |
| Spot UV | Gloss coating applied only to selected areas |
| Soft-touch | A velvety matte lamination or coating |
| Window patching | Applying clear film over a die-cut window |
| Insert | A component that holds and protects products inside the box |
How to brief finishes in a quote request
- Which panels get which finish (for example "gold foil logo on lid only").
- Foil color, and whether it is flat or embossed.
- Coating or lamination for the whole box.
- Window size, shape and whether it needs film.
- Insert type, number of products and their dimensions.
- Whether a finish sample is needed before production.
When not to use a finish
Knowing when to skip a finish saves money and avoids problems:
| Finish | Skip it when |
|---|---|
| Foil | The design is already busy, or the board is very rough and textured |
| Embossing | The board is thin, or the area crosses a fold |
| Spot UV | The background is already glossy, so contrast disappears |
| Soft-touch | Boxes are handled roughly in transit without an outer shipper |
| Film window | The brand promises plastic-free packaging |
| Foam inserts | Recyclability is a key brand promise; consider molded pulp or paperboard |
| Interior print | The inside is hidden by an insert that covers it completely |
Finishes by box style
| Box style | Finishes that work well |
|---|---|
| Mailer boxes | Interior printing, foil logo on the lid, printed tissue and inserts |
| Product boxes and tuck-end cartons | Foil, spot UV, soft-touch, embossing, windows |
| Rigid boxes | Foil, embossing, specialty papers, fitted inserts, ribbons |
| Magnetic closure boxes | Soft-touch, foil, blind deboss, foam or paperboard inserts |
| Sleeve boxes | Foil or spot UV on the sleeve, printed tray interior |
| Window boxes | Window patching, food-appropriate coatings |
| Display boxes | Gloss coatings for shelf impact, foil on the brand panel |
| Shipping boxes | Printed tape, simple one-color print, inserts |
Three finish examples
Skincare carton, calm premium
Matte lamination over a soft color, the brand name in a slim gold foil, and a blind deboss of the logo mark on the side panel. One hero finish (foil) on the front, a quiet secondary detail on the side.
Candle gift box, tactile and warm
Uncoated kraft wrap on a rigid box, a blind-embossed pattern on the lid, and a one-color printed card inside. Natural materials with texture instead of shine.
Tech accessory, modern contrast
Black soft-touch carton with a spot UV product outline and a molded pulp insert. Contrast between matte and gloss tells the story without extra colors.
Quality checks for finished boxes
We check finished samples during production for:
- Foil: complete coverage, sharp edges, accurate position, no flaking.
- Embossing: consistent depth, no cracking, alignment with print.
- Spot UV: even gloss, correct registration, no smudging.
- Laminations: no bubbles, wrinkles or lifting at edges and folds.
- Windows: film flat and secure, clean cut edges.
- Inserts: correct fit, product secure, easy removal.
Handling and packing finished boxes
Premium finishes deserve careful handling:
- Pack soft-touch and dark matte boxes so faces do not rub together in transit.
- Keep finished boxes in their cartons until needed, away from dust and sunlight.
- Wear clean gloves or wash hands when packing dark or soft-touch boxes.
- Ship premium retail boxes inside a corrugated outer box.
Finishes and print methods together
The print method affects which finishes are practical and how they look. Offset and digital printing on paperboard combine easily with foil, embossing, spot UV and laminations. On corrugated, finishes are more limited unless a printed and laminated sheet is mounted on the board. See printing methods for details and ask for a recommendation in your quote.
Finish recommendations by industry
Cosmetics
Cosmetic cartons compete on small shelves and in social media photos. A matte or soft-touch base with a single foil logo is a proven premium combination; spot UV patterns add interest for younger brands. Keep regulatory text clear of finishes so it stays legible. Paperboard inserts hold sets neatly. See cosmetic boxes.
Skincare
Skincare brands often prefer restraint: matte lamination, generous white space, a blind deboss or small foil accent, and calm colors. If sustainability is part of the story, consider an aqueous coating with embossing instead of lamination. See skincare boxes.
Candles
Candles are tactile, giftable products. Foil on the scent name, embossed patterns on rigid lids and kraft surfaces with a single ink color all work well. Inserts protect glass jars, especially for gift sets. See candle boxes.
Jewelry
Jewelry packaging is about the reveal. Rigid or magnetic boxes with foil logos, velvet or foam inserts and soft-touch surfaces suit the category. Inside-lid printing or a small card adds a personal note. See jewelry boxes.
Food, bakery and chocolate
Windows show the product; food-appropriate coatings protect print; foil accents suit premium chocolate and seasonal gifts. Keep film windows and coatings suitable for the level of food contact. See bakery boxes and chocolate boxes.
Electronics and accessories
Precise inserts are the hero: molded pulp for an eco-forward look, foam for maximum protection. Soft-touch with spot UV outlines communicates modern design. See electronics boxes.
Apparel
Apparel brands usually put finish budget into the unboxing rather than the box: interior printing, printed tissue, stickers and hang tags. A foil logo on a mailer lid is a simple premium step. See apparel boxes.
Subscription boxes
Interior printing changes the experience at a modest cost and can be updated with each new design run. Stickers and cards make monthly themes without new box designs. See subscription boxes.
Perfume
Perfume packaging often combines rigid or heavy paperboard, foil, embossing and fitted inserts that hold the bottle securely. Strong contrast between matte surfaces and metallic accents is common. See perfume boxes.
Questions to ask about finishes
- Which finishes are possible on my chosen material and print method?
- Are foil and emboss dies a one-time cost, and can they be reused on reorders?
- What are the minimum line weights and text sizes for each finish?
- Can I see a finish sample before production?
- How do the finishes affect recyclability and any claims I want to make?
- How much time do the finishes add to production?
Finishes for short runs
Traditional foil, embossing and spot UV need dies or screens, which makes them more expensive on small quantities. For short runs and launches, ask about:
- Digital embellishment: some digital finishing systems can add foil-like and raised gloss effects without traditional dies, useful for small quantities and multiple designs.
- Foil or spot UV on one shared element: use the same die across several products.
- Stickers with foil: add a metallic accent to a stock or digitally printed box.
- Interior printing instead of exterior finishes for the unboxing moment.
Availability depends on box style and material, so ask in your quote request.
What to check on a finish sample
- Foil color and brightness against your expectations.
- Sharpness of fine lines and small text in foil.
- Emboss depth and whether it reads clearly from a normal viewing distance.
- Contrast between spot UV and the background.
- Soft-touch feel and resistance to scuffing.
- Insert fit with the real products.
- Overall impression under shop lighting and daylight.
Relative cost of finishes
The table shows how finishes usually compare with each other. Actual prices depend on size, quantity and combinations.
| Finish | Setup | Per-unit impact | Notes |
|---|---|---|---|
| Aqueous coating | None to low | Low | Often included |
| Matte or gloss lamination | Low | Low to medium | Adds a film |
| Soft-touch lamination | Low | Medium | Premium film |
| Spot UV | Low to medium | Low to medium | Screen or digital setup |
| Foil stamping | Die cost | Medium | Lower per unit at volume |
| Embossing | Die pair cost | Medium | Combine with foil for impact |
| Window patching | Cutting die | Low to medium | Film adds a step |
| Inserts | Tooling for custom shapes | Medium | Depends on material |
| Interior printing | Low | Low to medium | Second print pass on mailers |
A simple decision flow for finishes
- Define the moment: is the box judged on a shelf, on a doorstep or when opened? Shelf favors exterior finishes; doorstep and opening favor interior printing and inserts.
- Pick one hero: foil, emboss, soft-touch or spot UV; whichever best expresses the brand.
- Check the material: confirm the hero finish suits your board and print method.
- Add a supporting detail only if it strengthens the hero (for example soft-touch under foil).
- Check the budget at your quantity, with and without each finish.
- Check sustainability priorities and any claims you plan to print.
- Sample it if the effect is central to the design.
How finishes look in photos and video
Customers increasingly meet your packaging on a screen first, in product photos and unboxing videos. Finishes behave differently on camera:
- Foil sparkles in video and under directional light, but can look flat or dark in evenly lit photos. Photograph it at a slight angle with light skimming the surface.
- Embossing needs side light to show its depth; flat front lighting makes it disappear.
- Spot UV shows best when the camera catches a reflection, which makes it a natural fit for short rotating videos.
- Soft-touch reads as rich, even color on camera and avoids glare, but dust and fingerprints show in close-ups.
- Interior printing and inserts are what most unboxing videos focus on, because they appear the moment the lid opens.
If social media is central to your marketing, design the opening moment first and test it with a phone camera before finalizing finishes. The Packaging Photography Shot List explains lighting setups for finishes.
Finishes and brand consistency
When a brand has several products, finishes should follow a system rather than being chosen box by box:
- Use the same foil color for the logo across the range.
- Reserve special finishes (holographic foil, sculpted emboss) for limited editions so they feel special.
- Keep the base coating consistent so colors match on the shelf.
- Document the finish standard with the rest of your packaging specification so reorders and new products follow it.
A consistent finish system makes the range look intentional, and reusing dies across products lowers cost. It also makes new products faster to brief, because the finish decisions are already made.
Key takeaways
- One well-chosen finish usually beats several.
- Foil, embossing and spot UV need separate, precise artwork layers.
- Matte or soft-touch backgrounds make foil and spot UV stand out.
- Inserts and interior printing often matter more to the unboxing than exterior finishes.
- Tooling costs make finishes cheaper per unit at higher quantities.
- Aqueous coatings, embossing and paper inserts keep packaging simpler to recycle.
Learn more
- Foil stamping
- Embossing and debossing
- Spot UV
- Soft-touch lamination
- Coatings and laminations
- Window patching
- Custom inserts
- Interior printing
- Packaging finishes guide
Frequently asked questions
Which finish gives the most premium look for the money?
A single gold or silver foil logo on a matte or soft-touch box is one of the most effective upgrades. For mailer boxes, interior printing often gives the biggest unboxing impact per dollar.
Can I combine foil and embossing?
Yes. Foil embossing raises the foil for a tactile metallic effect. It needs matched dies and accurate registration, so allow for proofing time.
Do finishes make boxes harder to recycle?
Some do. Plastic laminations and film windows add non-paper material. Aqueous coatings, embossing and open windows keep paper packaging simpler to recycle. Small foil accents are common on recyclable paperboard, but check local guidance.
Is soft-touch lamination worth it?
For products customers handle and keep, such as cosmetics and electronics, soft-touch adds a memorable feel. On dark colors it can show scuffs, so packing care matters.
Can finishes be used on corrugated mailer boxes?
Some can. Foil and light embossing are possible on suitable liners; soft-touch and spot UV usually require a laminated printed sheet. Interior printing and printed inserts are popular ways to upgrade mailers.
Do I need special artwork for finishes?
Yes. Each finish needs its own layer as a 100% spot color set to overprint, aligned exactly with the printed artwork. We check finish layers in every file.
How much do finishes add to the price?
It depends on size, quantity and how many finishes you use. Tooling for foil and embossing is a one-time cost that matters more on small runs. Your quote shows the price with and without each finish so you can compare.
Can I see finish samples before ordering?
Yes. Request samples to see and feel foils, soft-touch, spot UV and embossing.
Can foil be used on kraft boards?
Yes. Gold, copper and white foils look striking on kraft. Very rough or textured surfaces can make fine foil details less crisp, so keep foil elements bold.
Will soft-touch work on a mailer box?
Soft-touch needs a smooth printed surface, so on corrugated it is usually applied to a printed sheet laminated onto the board. Ask which approach suits your mailer.
Which finishes photograph best for social media?
Foil and spot UV shine in short videos, embossing needs side light to show, and soft-touch gives rich, glare-free color. Interior printing and inserts are what most unboxing videos focus on.
Can I add a finish to an existing design?
Usually yes. We create a separate finish layer from your existing artwork, such as foil on the logo, and show it on the proof for approval.
Do finishes add time to production?
Yes. Tooling and extra passes add some time, so plan launches early.